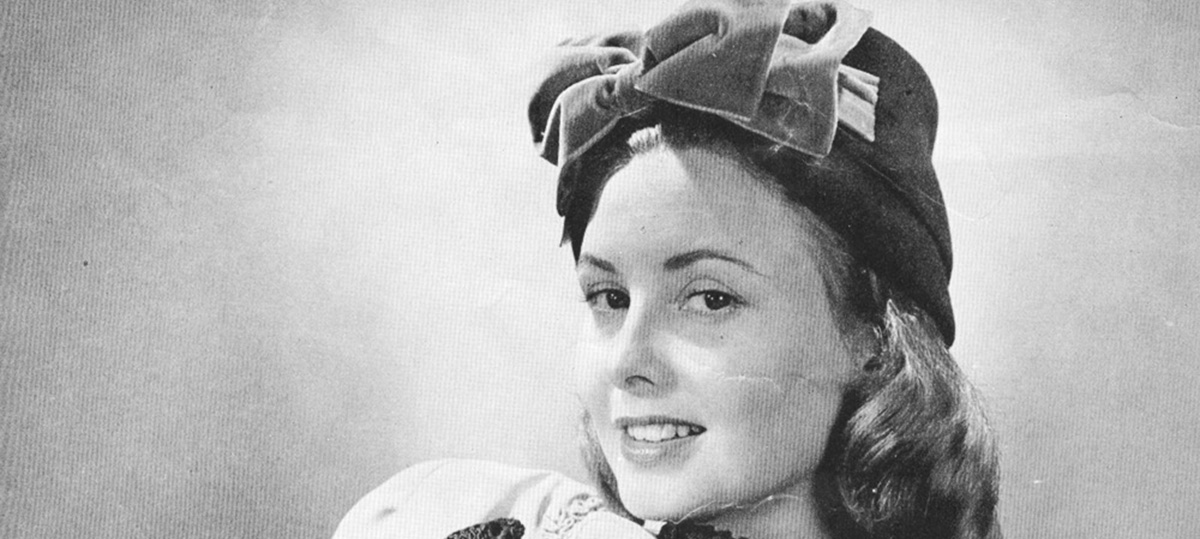


If, like me, you spend a significant number of your waking hours cooing over photos from the ‘40s and ‘50s, you’ll notice that bows are a big deal. They adorn collars, knitwear, hairstyles, hats and snoods for girls and women of all ages. Luckily they are quick and easy to create for yourself and that means, given the time and inclination, you can make yourself one to match every frock!
This bow is knitted, and very versatile as you can make it into a hair bobble, hair clip or brooch as you prefer. It’s an ideal project for a beginner knitter.
Equipment:
- Knitting needles – roughly size 4mm, although 4.5mm, 3.5mm, etc should be fine
- Double-knitting yarn
- Tapestry needle (or any needle you can fit your yarn through)
- Scissors
- Either plain hair elastic, or a hair clip or brooch back (these can be bought in craft and hobby shops or online and are not expensive). Or if you’re feeling a bit ‘make do and mend’, a safety pin or bobby pin will do.
You will need to know how to cast on, knit, and cast off. There are countless YouTube videos on how to do these so just pick the one that suits you best. No other complicated stitch types are necessary. Hurrah! So, let’s go…
Step 1:
Cast on 12 stitches for a small bow, or 20 for a medium bow. Then knit rows until you have a square. Make sure you still have the right number of stitches and then cast off. Cut the yarn, leaving at least 30cm attached to your knitting.


Step 2:
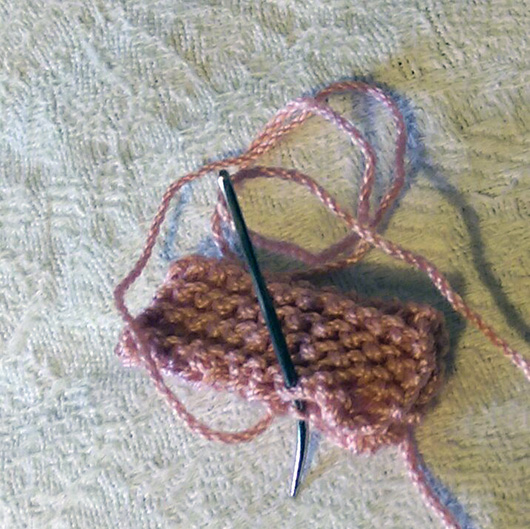
Fold your square in half as shown and use the tapestry needle and the yarn still attached to the knitting to sew along the long side. Make a secure knot at the end of the long side and then thread the leftover yarn through the stitches to hide it. Cut off any remaining yarn.

Step 3:
You should now have a neat tube of knitting – turn it inside-out. Cut another piece of yarn approximately 40cm long and tie it tightly around the middle of the tube, making sure the tails of yarn are roughly equal in length.

Step 4:
Use the long tails from the knot to wrap around the tube as tightly as you can. Wind one tail clockwise five times, and then the other tail anti-clockwise five times. Then tie a double knot where they meet. This will be the back of your bow. Use the needle to thread the loose ends through the yarn and trim the remaining tails.

Step 5:
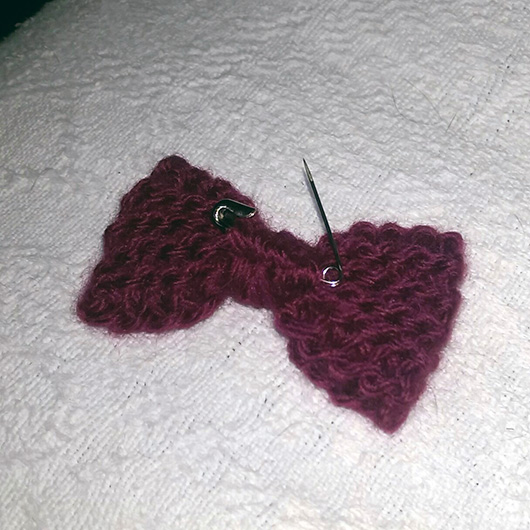
And that’s your bow! You can stitch it to a safety pin or brooch back, slip a bobby pin through the yarn as shown, or sew it to a hair elastic.

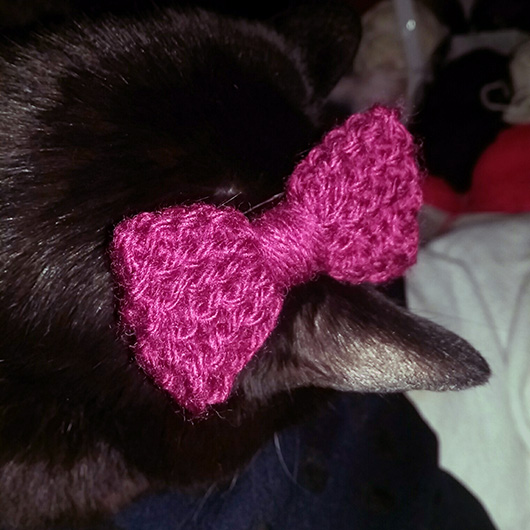
You can vary these in lots of ways; to add a bit of sparkle, thread beads onto the long tails before you wind them around the tube or use a different colour yarn for the central section. Here’s the finished product, grudgingly modelled by my cat. Happy knitting!