


on Your Handmade Garments – Part Two
In part one of this series we focused on the types of fabric to use when making vintage clothing but today we go inside the garments and look at how seams are constructed. Okay, to the casual observer the seams of a garment aren’t going to matter much but if you’re planning to sell your handmade vintage-style garments, or you really want to create something authentic, then how the seams are done is very important.
Seam Allowance
Go into your wardrobe and take a look at the seams of a modern high street garment. On about 99% of these you will see that the seam allowance is very small and the two seam edges are closed together by an overlocking stitch. This is the common way of doing mass-produced modern clothing and it started coming into effect in the 1960s with the introduction of polyester. Now look at an original, pre-1960s garment and you will notice the seams look very different.
Before the throw-away culture started to creep into our lives people used to own a garment for many years and during this time they would probably fluctuate in weight or perhaps, the garment may be handed down to someone else. With this in mind seam allowances were always wide, the barest minimum being about 1.25 cm, so they could be let out at any time. Make sure you cut your fabric out with a good amount of seam allowance and when the seams are sewn they are left open and pressed flat.
Types of Seam Finishes
Today’s industrial overlockers weren’t widely used until the mid-1960s, so manufacturers and home seamstresses had to use other techniques to finish the edge of their cut fabric so it wouldn’t fray and there were many to choose from.
The Over-cast Stitched Seam
The technique that comes the closest to the modern day overlocked seam is the over-cast stitch. Once the two pieces of fabric have been sewn together, hand sew over the raw edge of the seam allowance with either a whip stitch or a blanket stitch, depending on the type of fabric.
The Pinked Seam
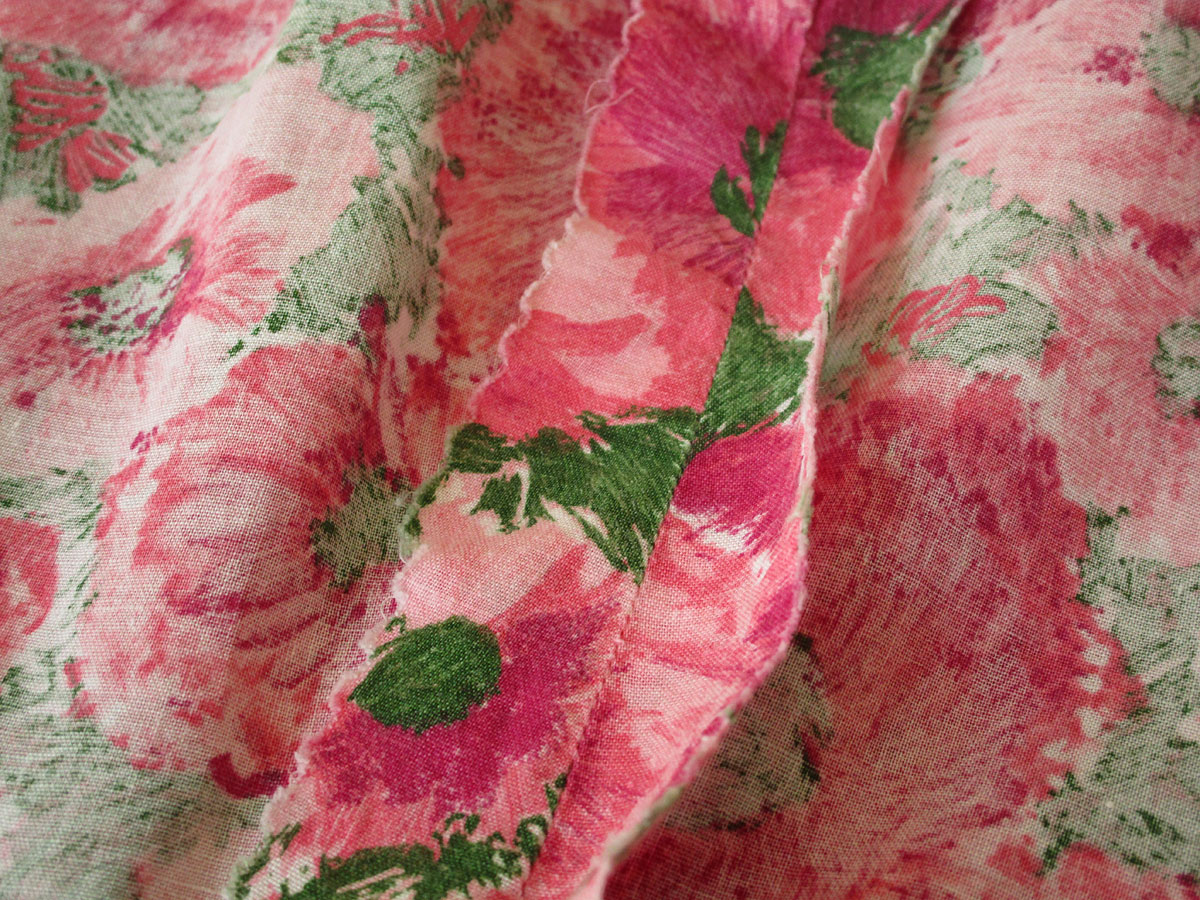
The pinked seam is done simply by cutting the edge of the fabric with a pair of pinking scissors to create a zigzag edge to the fabric. This technique breaks the straight edge of the fabric and stops the multiple of threads from continuing to fray. It should only be used on fabrics that don’t fray a great deal or on bulky fabric, to eliminate the solid heavy line that a straight seam allowance may make on the outside of the item.
The Turn and Stitch Seam
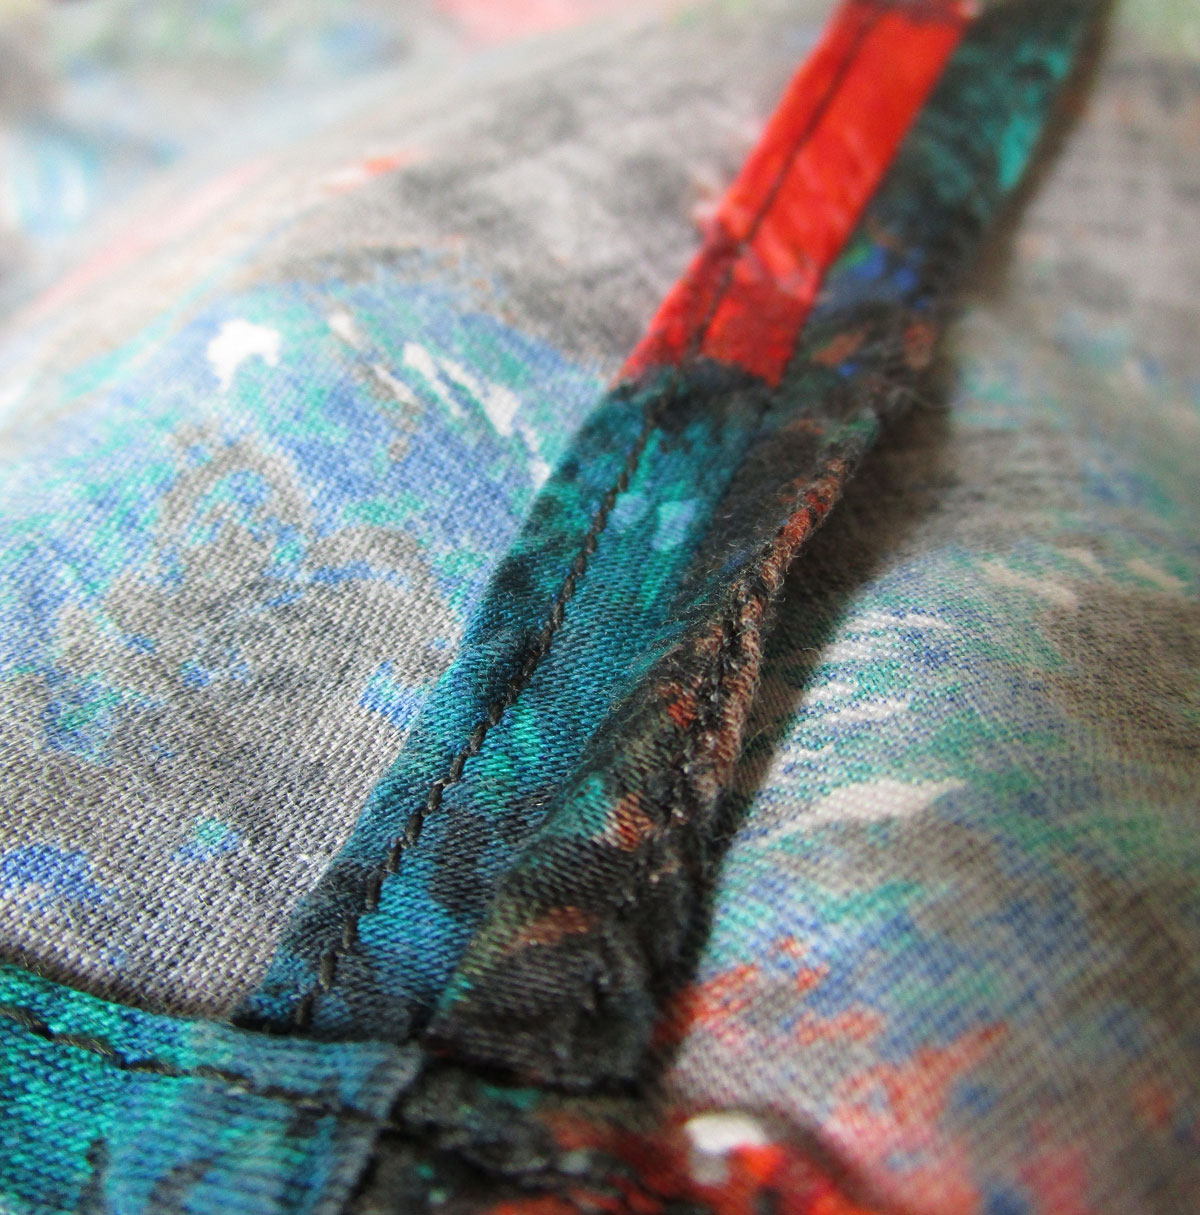
This technique is done once the seam line is sewn up and is perfect if you only have a straight stitch on your machine. A small edge of the seam allowance either side of the seam is folded back on itself and stitched down, so it sits neatly behind it. This creates a very clean finish.
The French Seam
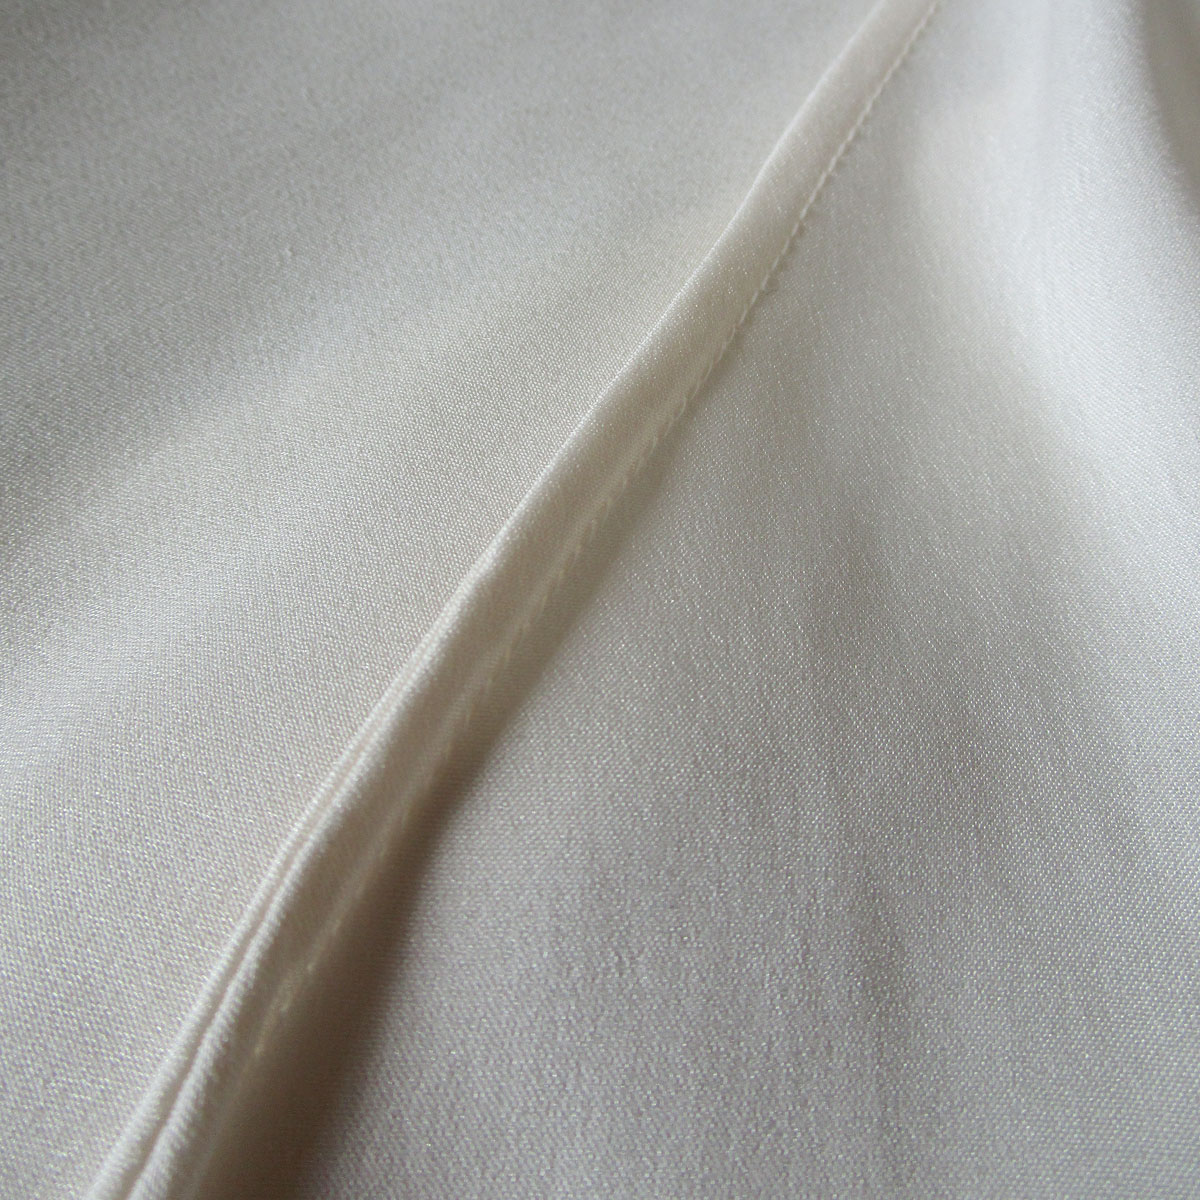
The French seam involves sewing the straight line of the seam twice. For the first line the wrong sides of the fabric are placed together and the stitches are placed at half of the seam allowance. A small amount of the fabric edge is then cut off before the seam is pressed open. The second line of stitching then occurs by folding the fabric at the first stitch line, so the right sides are together, and then sewing along the allocated seam allowance line to trap the original seam allowance in the fold. This technique is used for delicate fabrics such as silk and chiffon.
The Bound Seam
The bound seam is the ultimate couture technique and there are two ways of achieving this. With both, the seam line is sewn first as usual. The first version is where both edges are trimmed and then the edges are then carefully bound using bias binding. The second version is where only one edge is trimmed and the access of the other side is folded over twice so it sits on top of the first and stitched down to encase it very much like the French seam.
There were, of course, other techniques used from time to time but these were the most common and any home seamstress could achieve at least one. Make sure you choose the best one for the type of fabric you are using to create a truly authentic seam finish.
