


on your handmade garments – part three
Finishing the edges
Looking inside a well-made vintage garment can unlock all sorts of sewing secrets from the seamstresses of the past. Many techniques they used have been long forgotten or replaced by modern ones. However, to create a truly vintage finish to your handmade clothing, it is always worth considering the older ways are generally better, and often much easier.
Necklines and armholes
These days, the most common way to finish off a neckline or sleeveless armhole is by adding a facing, which is more often than not interfaced. Vintage seamstresses did use this technique but it always depended on the fabric that was used rather than being the go to choice.
More commonly, they used either bias binding or rayon tape to hide the turned over seam allowance. The seam allowance and tape were sewn together on a machine, with the right side of the garment and the wrong side of the tape facing each other. The tape was then turned to the inside and pressed to create a clean, sharp edge. Finally the tape was secured to the inside of the fabric using a slipstitch, picking up as little as possible so the stitches didn’t show on the outside.
Another technique was to add a decorative facing to the outside of the garment. This was often done in a contrasting colour or pattern. To achieve this you would place the wrong side of the garment against the right side of the facing. Once the seam is sewn, you turn the facing over to the outside and understitch on the inside of the garment. Finally top stitch the facing down on the outside, catching the seam allowance underneath.
Waistbands
Waistbands in dresses were often stabilised to stop them stretching or distorting. This would have been done by sewing in rayon tape, stay tape or a narrow petersham tape to the inside of the dress. This would generally cover the raw edges of the waist seam and would protect it from wear and tear, something that was particularly helpful before the overlocker became available to all.

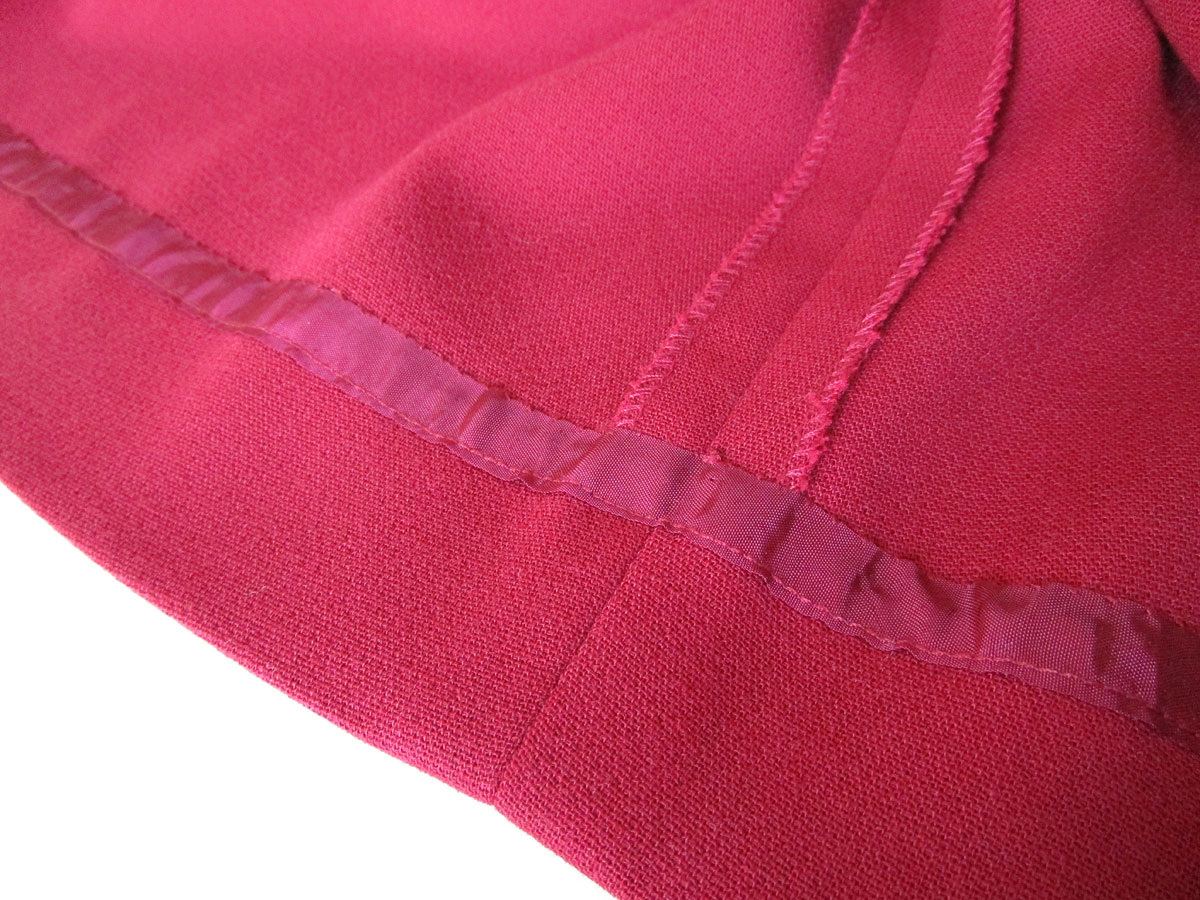
Petersham tape was also used to finish off the top edge of skirts when an additional waistband wasn’t added. Instead the seam allowance on the skirt was turned over to the inside and pressed. The petersham was then attached underneath this seam allowance and sewn in place. To neaten this off, rayon tape was placed over the join and hand stitched down on to both the seam allowance and petersham tape.
Hems
Like seam allowances of the past, hems were much larger than their modern day counterparts. The minimum allowance was about 3cm but could go up to about 6 or 7cm. This allowed for hems to be let down, something that was very handy if it was a garment for a child or something that would end up being worn by more than one person.
The easiest way for a vintage seamstress to finish off the hem of a garment would be to turn the allowance over by half and then half again and slipstitch to the inside of the garment. This would tuck the raw edge inside the hem.

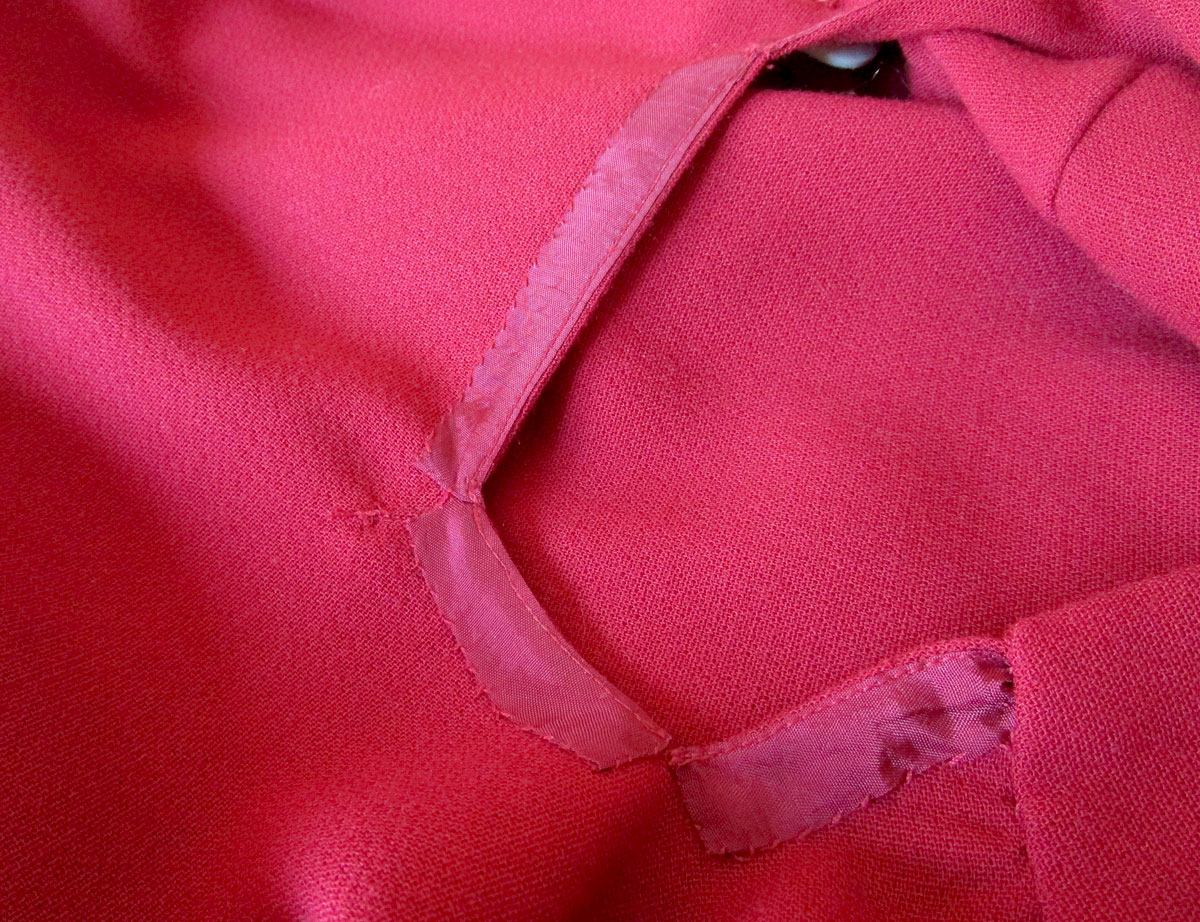
Alternatively, the hem allowance would be turned up just once and rayon tape or a band of fabric would be placed over the raw edge. This would then be machine sewn at the bottom with right side of the fabric and wrong side of the tape together and the top edge would be carefully slipstitched to the inside of the garment.